Eye make up tips for every eye shape
Our eyes are all different shapes & sizes. Have you ever loved an eye make up look on someone else then when you try it yourself it just doesn’t work out? In this blog post I will be detailing different eye shapes & tips for eye shadow application to compliment them.
To shop all things eye make up click here
Let’s start with eye shapes. How to find out what your eye shape is & what make up look is going to compliment you?

Upturned
Though the eye shape looks almond with upturned eyes, the outer corners lift upwards. With upturned eyes the outer corners appear slightly higher than the inner corners & the lower lashes turn upward. Some call this shape cat eyes.
Make up -
Upturned eyes are perfect for creating a smokey eye.
Chose 3 colours; a light, medium & dark shade.
Apply the light shade all over the lid.
Next, lightly apply the dark shade at the outer corner and gently blend into the crease. I recommend going in lightly & building on the darkest shade as to save your look from being darker than expected. (If your look becomes darker than expected use the medium shade & buff in to lighten your look).
Then take the medium shade & blend gently between the dark and light shades in the centre of the lid.
Apply the dark shade to the bottom lash line to make your look extra sultry.
Apply Mascara.

Monolid
Monolid eyes either don’t have a crease or it’s only very slight so the lid is smooth up to the brow bone with out creasing.
When applying eye shadow to a monolid eye there can be more shadow fall out onto the under eye than normal. This is because there is no crease to stop it. Using an eye shadow primer or even a cream eye shadow in a pale tone can help with the fallout by creating a sticky base for the shadow. If using a liner stay close to the lash line.
When going for a smokey eye -
Apply primer/cream eye shadow across the lid.
Chose 3 colours; a light, medium & darker shade. Try not to go too dark with your colour palette as you could lose definition.
Take the darkest colour blend from mid way across the upper lash line to the outer corner of the eye, blending upwards.
Still using the darkest colour create a > shape from your upper lash line out toward the brow bone feeling for the curve of the eye ball & following it back toward the centre of the eye.
Apply the medium tone in the very centre of the eye then use the brush used to apply the dark colour without product on to subtly soften the edges.
Apply the lightest shade in the inner corner of the eye. It’s nice to go for a shimmer as it makes the inner corners of the eyes pop.
If you have any shadow fall out on cheeks/under eyes dispense out a little bit of clear foundation primer using a fluffy brush. Take any excess off on the back of the hand then just swipe under the eyes to pick up any loose powder.
Apply Mascara.


Round
Round eyes appear the same height & width, with the eyes often looking bigger & more prominent.
If you have round eyes you’re in luck as you have ample amounts of lid space for your creations. Round eyes can experiment with all sorts of styles & usually pull them off. One look that makes round eyes pop is to create a halo effect. This style can be created again with just 3 tones; a light, medium & dark but for this look it’s easier to use a cream shadow for the lightest shade & the medium tone should be a metallic or a shimmer.
Apply lightest shade all over the lid as a base.
Apply the darkest shade to the crease but blend into the crease from the outer corner all the way across to the inner corner. Apply subtly & build the colour darker so you don’t lose definition.
Apply the lightest shade precisely in the centre of the lid like a spot light from the lash line to just under the crease then cover up the lightest shade with the medium metallic/shimmer creating the inner halo.
If using liner I’d suggest going for a flick then blending the darkest shade into the liner to make it seamless.
Apply mascara & some false lashes to open the eye.
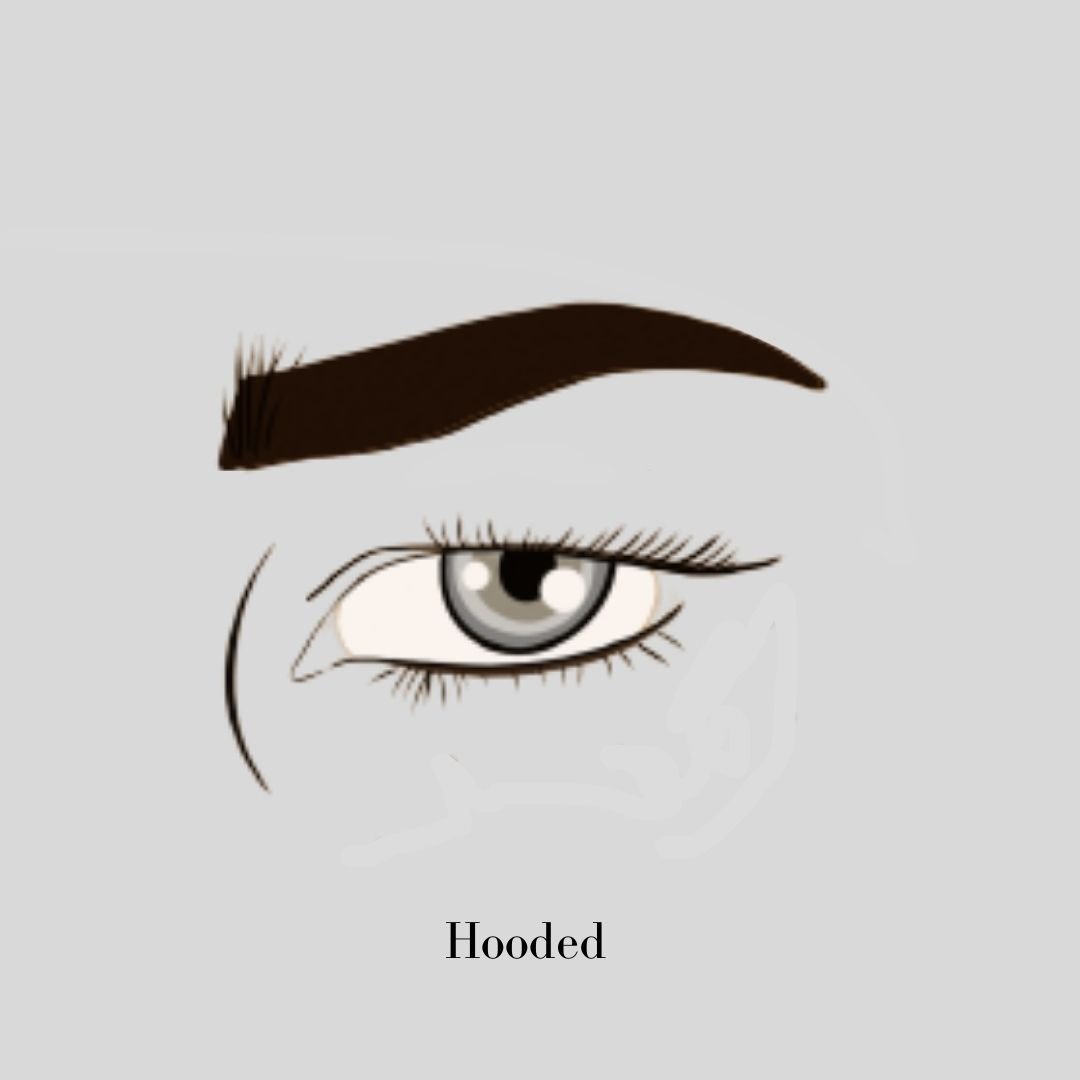
Hooded
Hooded eyes are where you have another layer of skin that hides your crease. Often if you’ve tried to create winged liner they look perfect when your eyes are shut but then you open your eye & the liner no longer looks like a sleek effortless line but a disjointed one.
Make up -
With hooded eyes you’ll probably find your eye liner & mascara tend to print onto your lid unexpectedly. I’d recommend using a primer or light shade of cream eye shadow as a base so the shadow is set in place more securely to avoid smudging.
For hooded eyes I normally use 2 brushes for blending out the crease, a fluffy eye shadow brush and a smaller version of the shadow brush with more compact bristles. This style can be created again with just 3 tones; a light, medium & dark.
Apply lightest shade all over the lid as a base.
Apply the darkest shade subtly whilst keeping your eye open so you can see where your natural crease is with your fluffy eye shadow brush from your outer corner to mid way across the lid.
Using the darker colour still apply using the smaller more compact brush to darken your natural crease. Then switching back to the fluffy shadow brush, without applying any more product, gently buff out the crease using a slightly upward motion. This should make your shadow visible and give you definition.
Blend the medium shade into the dark shade in the middle of the lash.
Apply a pop of the light shade to the inner corners. A shimmer or glitter brings brightness & opens the eye.
Using a liner on the upper and lower waterline of the eyes works so well for hooded eyes. It creates the illusion of thicker longer lashes & using liner here won’t transfer onto your lids.
Apply mascara. Go for a waterproof one to avoid transferring on the lid.


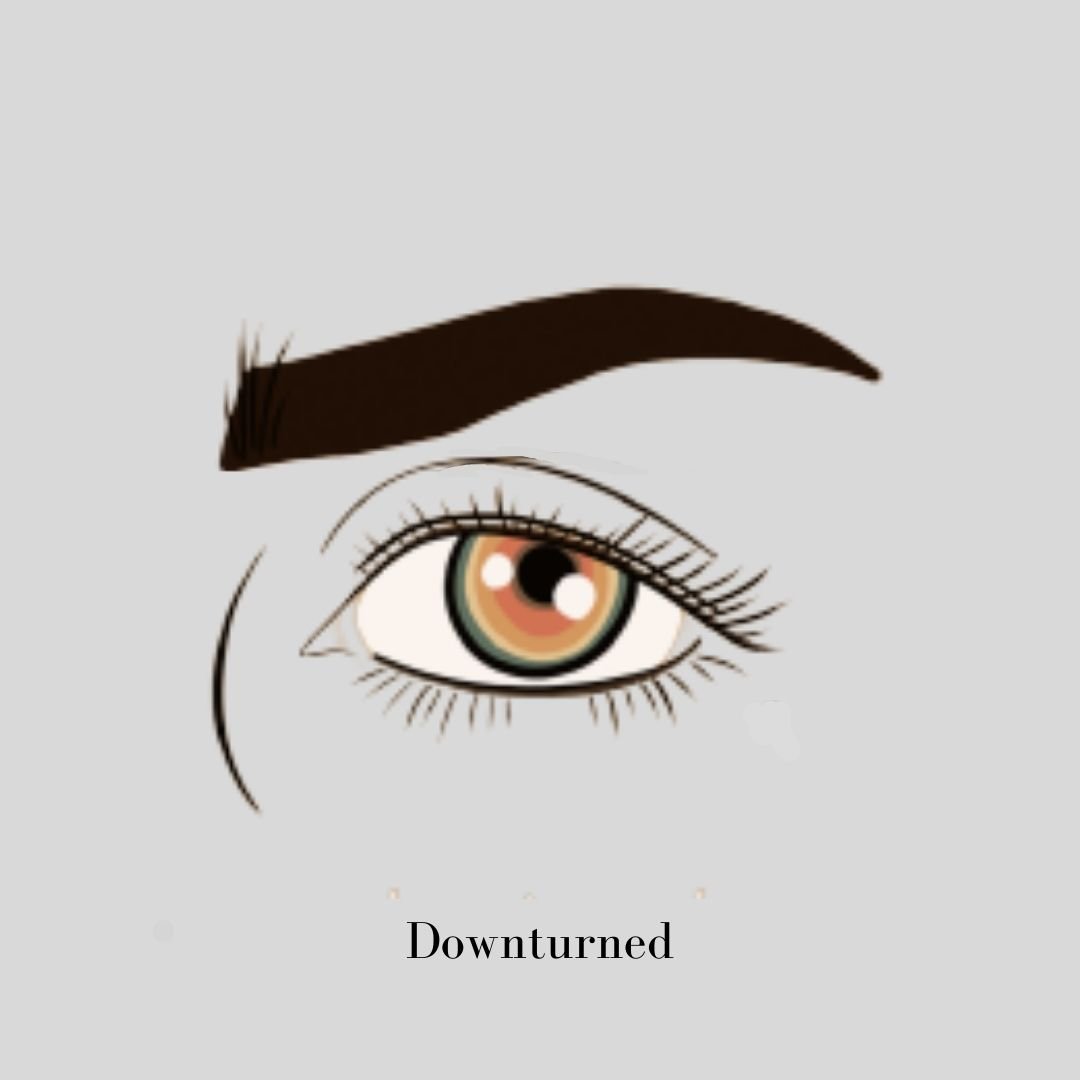
Downturned
With downturned eyes the outer corners appear lower than the inner corners.
Make up -
For downturned eyes it’s all about trying to lift the eye creating a more balanced appearance. Nudes & neutrals are your colours here. A winged liner sweeping upwards can look amazing.
I’d still chose 3 colours here but 3 different shades of a neutral palette instead of going for darks I’d chose browns.
Apply your lightest shade all over the lid.
Blend your medium shade into the centre of your lid.
Apply either a liquid liner or a gel liner thats thinner at the inner corner sweeping over the top of the lash line and lifting up at an angle into a wing. If you’re new at this I suggest using a liquid liner and drawing dots. First draw a small dot at the corner of the eye on the lash line. Next calculate the angle you wish to lift and how long you want your wing to be and place a small dot where you wish the wing to finish. Open your eye & visualise the liner sweeping back to the corner of the eye on the upper edge of the liner & place another small dot. Join the dots together then fill the wing with colour & line to the inner corner with the line getting thinner as you go.
Take your darkest shade and using a fluffy eye shadow brush gently blend upwards from the outer corner blending into the winged liner.
If you need to go over your liner to refresh & apply mascara .

Almond
Almond eyes as the name suggests, an oval shape, with the outer corner being very slightly upturned like an almond.
If you have almond eyes you can pretty much pull off any make up look you want. Creating cat eyes make up looks stunning on this eye shape.
Again you can chose 3 colours; a light, medium & dark. You could even mix it up a little and go for a navy or dark purple as the darkest tone for this look.
To make this look sharp & really easy to create I normally use tape. I apply tape from the bottom lash line at an upward angle.
Go in with your darkest shade, blending from half way along the lash line & onto the tape, then follow the crease around to mid way along the lid. Using a shorter more compact brush use the darker shade to define a > shape on to the tape and back into the crease.
Using the medium shade blend the middle of the lid and softly blend into the > shape you created with the dark.
Apply a pop of the light colour to the inner corner to brighten the eye.
Blend darkest shade along lower lash line.
Remove the tape giving you a sharp cat eye effect. Apply mascara & false eye lashes to really complete the look.
I hope this blog post has been helpful & you can use these tips to create some stunning eye shadow looks.